Toe Shaping for Knitted Socks
Are you a sock knitter dying to learn how to design your own knitted socks? If your answer is “Yes!”, these sock design tutorials are the one-stop resource for you.
Sock Knitting for Everybody: Table of Contents
Toe Shaping for Knitted Socks
Toes are shaped by increases or decreases, depending on the direction of knitting (toe-up or top-down) or by using short rows.
Human toes are not symmetrical, but knits are stretchy so there’s no need to distinguish between the outer and inner side of the toes: Increases and decreases can be worked symmetrically on both outside (lateral part) and inside (medial part) of the foot.
When working sock toes top-down stitches are decreased until about 8 stitches are left. The working yarn is then cut and pulled tightly through the remaining stitches to close the gap at the tip of the toes.

When working toe-up, the most convenient way of starting your toe section is by using the figure-eight cast on method. An alternative is using any provisional cast on grafted together later, or working toes in a completely different way – by short row shaping.
The most common sock toes techniques are
- Band Toes (known as Bandspitze in German speaking countries)
- Round Toes
- Short Row Toes
- Julia’s Sock Toes
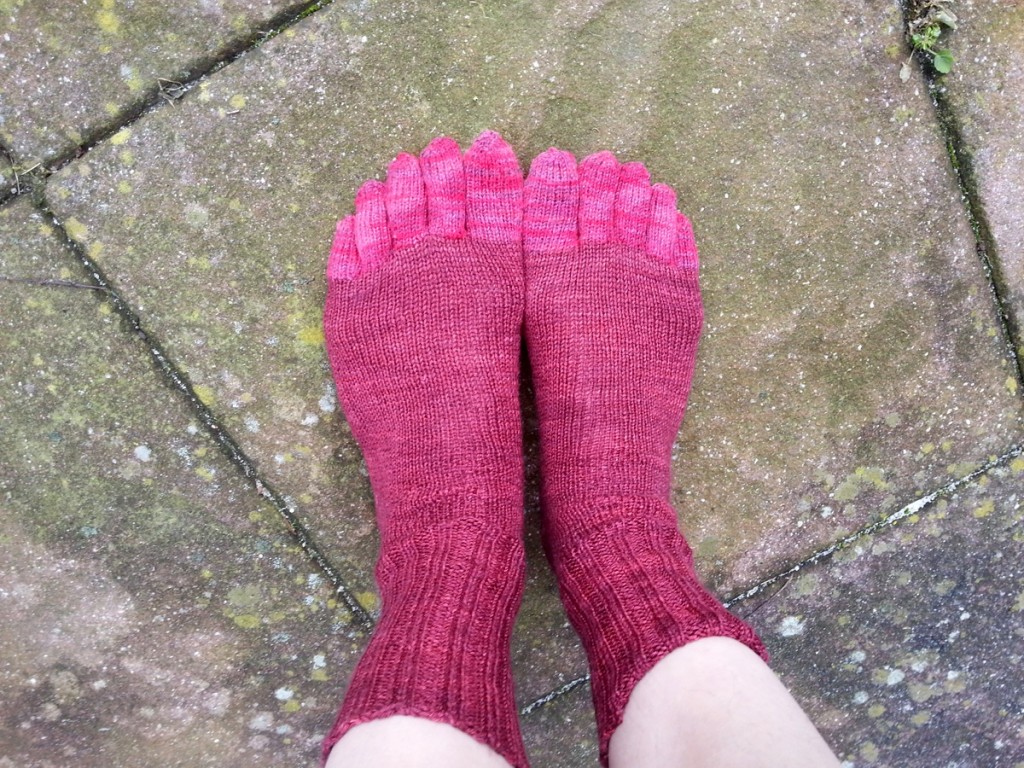
If you’re feeling adventurous: you can work sock toes for Flip Flops or Wee Toes (see picture below), too – but that’s a different story (and a different tutorial to be published later this summer).

Band Toes (Bandspitze)
This technique is the most commonly used technique in German speaking countries when working socks top-down. It’s done by working symmetrical decreases on each side of the toes with two knit stitches between the decreases, creating a knit stitch band on each side. The advantage of not pairing the decreases directly is that we get no gaps (paired decreases next to each others tend to create holes).
The pattern template below assumes two stitch markers being in place – one on each side of the sock, with an equal stitch count in between.
- Round 1: (K1, ssk, k to 3 sts before next marker, k2tog, k1, slm) twice.
- Round 2: Knit.
- Repeat these two rounds until 8 sts are left, then cut yarn, pull through remaining stitches and pull tight.
Toe Shaping With Julia’s Toes
My all-time favorite method of toe shaping when working toe-up is to start with a figure-eight cast on and increasing using kfb stitches until I reach my desired stitch count.
- Using the Figure-Eight cast on method, cast on 16 sts.
- Setup Round: Pm, k8, pm, k8.
- Next Round: (kfb, k to 1 stitch before next marker, kfb) twice.
- Next Round: Knit.
- Repeat the last two rounds until you have reached your desired stitch count.
Short Row Toes
No clue about how to work short rows? Consider reading my resource on knitting short row The Complete Guide to Knitting Short Rows first!
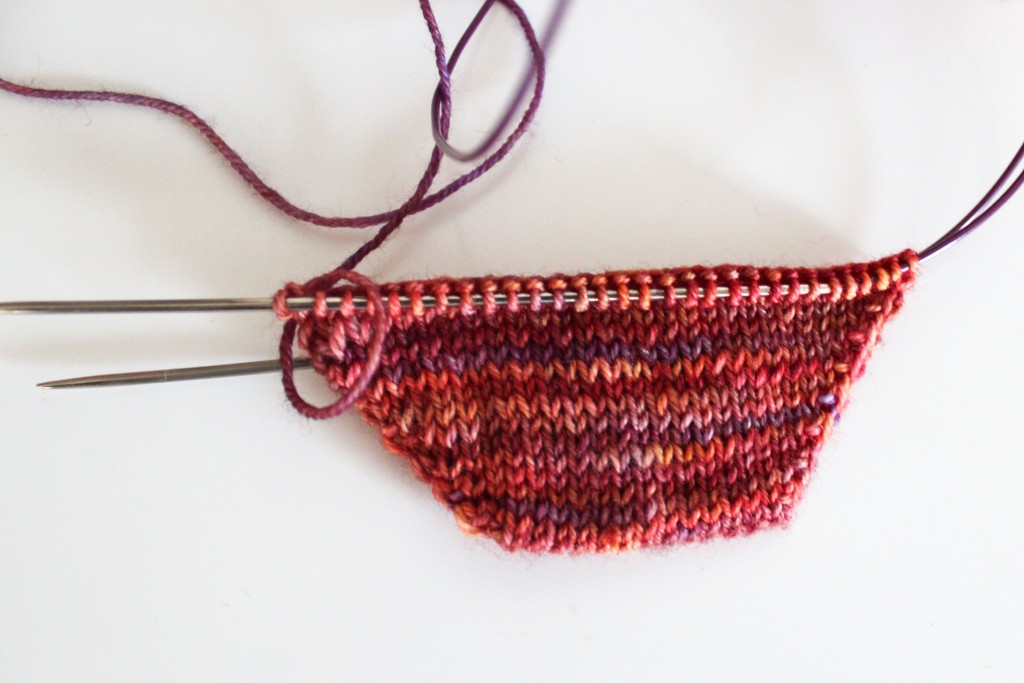
Short row toes start with a provisional cast on of half of the desired end stitch count for the foot section (your final sock circumference) and shape the toes by short rows – one short row wedge for the sole, one for the instep.
The final stitch count is called M (=2*N) the pattern template below. The example uses German short rows (using the double stitch – ds – if you’re used to working wrap and turns, each ds resembles a w&t stitch).
- Provisionally cast on N (=M/2) stitches and purl one row, turn.
- Next Row (RS): Knit N stitches, turn.
- Next Row (WS): Mds, purl N-1 stitches, turn.
- Next Row (RS): Mds, knit to next ds, turn.
- Next Row (WS): Mds, purl to next ds, turn.
- Repeat the last two rows until 8 stitches are left unworked.
- Next Row (RS): Knit to next ds, knit ds, k1, turn.
- Next Row (WS): Purl to next ds, purl ds, p1, turn.
- Repeat the last two rows until you have worked all double stitches.
- Undo provisional cast on at the beginning and put sts on needle together with the live stitches.
- Facing the right side of your knitting, knit one round.
Round Toes
Rounded toes are shaped by spacing out the increases (or decreases) equally around instead of pairing them together at the sides. Personally, I haven’t used this version of knitting sock toes ever but they seem to be quite popular among knitters, so I’ll include them for completeness.
- Next Round: k4, (k2tog, k5) 8 times.
- Next Round: Knit.
- Next Round: Knit.
- Next Round: k4, (k2tog, k4) 8 times.
- Next Round: Knit.
- Next Round: Knit.
- Next Round: k4, (k2tog, k3) 8 times.
- Next Round: Knit.
- Next Round: Knit.
- Next Round: (k2, k2tog) 9 times
- Next Round: Knit.
- Next Round: Knit.
- Next Round: (k1, k2tog) 9 times
- Next Round: Knit.
- Next Round: Knit.
- Next Round: k2tog to end (9 sts)
- Cut yarn, pull through remaining stitches and pull tight.
Toe-Up: Knitting Your Sock Toes First
Working toe-up, the most convenient techniques to use are Band Toes, Short Row Toes or Julia’s Toes.
How to Knit Sock Toes Top-Down
If you decide to work your socks top-down, Julia’s Toes are not an option (it’s a toe-up only technique, although a similar technique could be implemented – it just wouldn’t look good, as paired decreases next to each other tend to create gaps). I’d recommend not using short row toes neither (except you really like and are good at grafting) but feel free to use any other technique mentioned above: Band Toes or Round Toes.
What About Your Preferred Toe Knitting Method?
Which way of knitting sock toes is your number one and why? I’m curious to hear your story – please leave a comment below!


Thank you for this guide, it was exactly what I was looking for.
I have a question on the Short Row Toes. On the second half of the two are we supposed to MDS on the first stitch of the row?
When I worked the toe as written (below) my second side was much shorter than the first side.
Next Row (RS): Knit to next ds, knit ds, k1, turn.
Next Row (WS): Purl to next ds, purl ds, p1, turn.
Thank you!
On the wrong side you purl to the next ds (on the other side), not the one just one stitch away.
Pingback: Sock Knitting For Everybody: Your Sock Knitting Master Class - knitting.today