
Creating Knitting Patterns, Day 11: Pattern Photography That Rocks
Welcome to Day 11 of the Complete Guide to Creating Knitting Patterns series! Today, we are going to talk about how to take awesome pictures for your knitting patterns.
Why Is Good Photography So Important?
[one_half]
[/one_half]
[one_half]
[/one_half]
There’s not much to add here I guess. Your pattern pictures determine if people click on your pattern (and buy it!) or not. It’s simple as that. Take the best pictures you can!
If you’re using a phone camera, websites like iphonephotographyschool.com can be of help eventually. There’s lots of tutorials on phone camera photography out there, just feed the search engine of your choice!
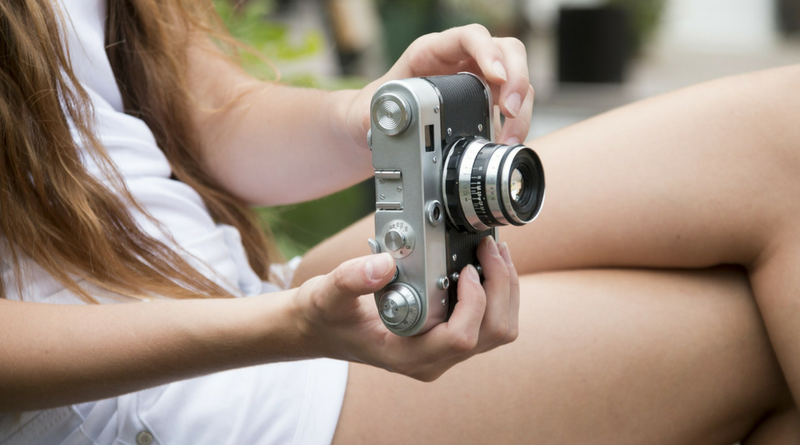
How To Take Pictures That Rock Your Knitting Pattern
If you know a decent DSLR camera and know how to use it: awesome! This will get you the best pictures probably. But it’s possible to take awesome pictures with a phone camera, too – it’s just a little more effort. Just a few tips:
- Take pictures in natural light unless you own professional flash equipment.
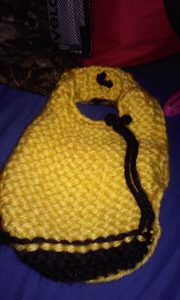
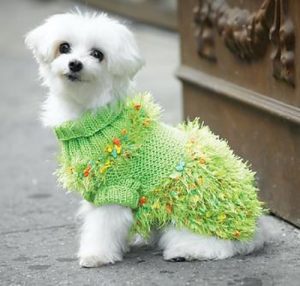
- Make sure you include an overview of the finished item and detail shots of each pattern feature (stitch patterns, key construction elements).
- Always edit your pictures!
Picture Editing
Always edit your pictures after taking them. I’m doing a lot of photography, but I didn’t yet manage to take a picture that is perfect as is! Editing may include exposure, contrast, vibrance, white balance and cropping your picture.
- Re-frame (crop) your pictures to get a balanced composition. Your item should be the focus of the image, not the background behind. (Who’s interested in the wallpaper of your apartment?)
- Adjust exposure, white balance, contrast and clarity. Make your picture stand out of the crowd!
- Make sure your pictures are clear and in focus. Do not use blurry images! A little bit of blur can be eliminated eventually by picture editing.
Tools For Picture Editing
I’m using Photoshop since version 3, so do not ask me for advice on image editing software if you don’t want to hear “Photoshop, what else” as an answer. A good, free and open source alternative is Gimp.